
Sealing your garage floor is a practical and beneficial investment that not only enhances the aesthetic appeal of the space but also provides long-lasting protection against stains, cracks and wear. Here’s a step-by-step guide on how to seal your garage floor, which should ensure a durable and visually pleasing result.
Gather Your Materials
The materials for sealing a garage floor should typically include a high-quality concrete sealer, degreaser, epoxy filler (if needed), a stiff-bristle brush, a pressure washer and protective gear such as gloves and safety goggles.
Prepare the Surface
Thoroughly clean the garage floor to remove any dirt, oil or stains, and use a degreaser and a stiff brush to scrub away stubborn spots. For an overall clean, consider using a pressure washer to ensure the surface is free from debris and contaminants.
Repair Cracks and Pits
Inspect the garage floor for any cracks and fill them with epoxy filler, smoothing the surface with a putty knife and allowing the filler to cure as per the manufacturer’s instructions.
Choose the Right Sealer
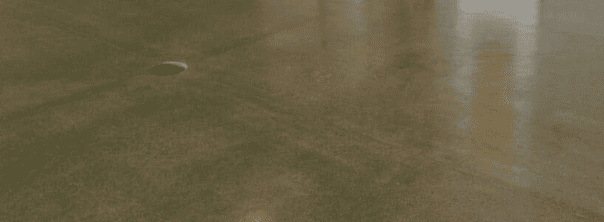
Select a concrete sealer that suits your preferences and the specific needs of your garage. Epoxy sealers provide a glossy finish and are highly resistant to chemicals and stains, while penetrating sealers offer a more natural look and protect against moisture.
Apply the Sealer
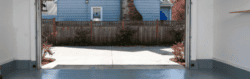
Carefully follow the manufacturer’s instructions for your chosen sealer and apply the sealer evenly with a paint roller or sprayer. Work in small sections to ensure thorough coverage, and use a paintbrush to reach corners and edges. If you need garage doors Gloucester, companies such as https://www.upandoverdoorsltd.co.uk/garage-doors/gloucester/ can help.

Allow Adequate Drying Time
After applying the sealer, allow the garage floor to dry thoroughly. Drying times can vary depending on the type of sealer used, humidity levels and the temperature.